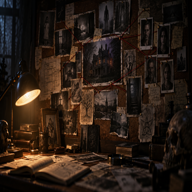
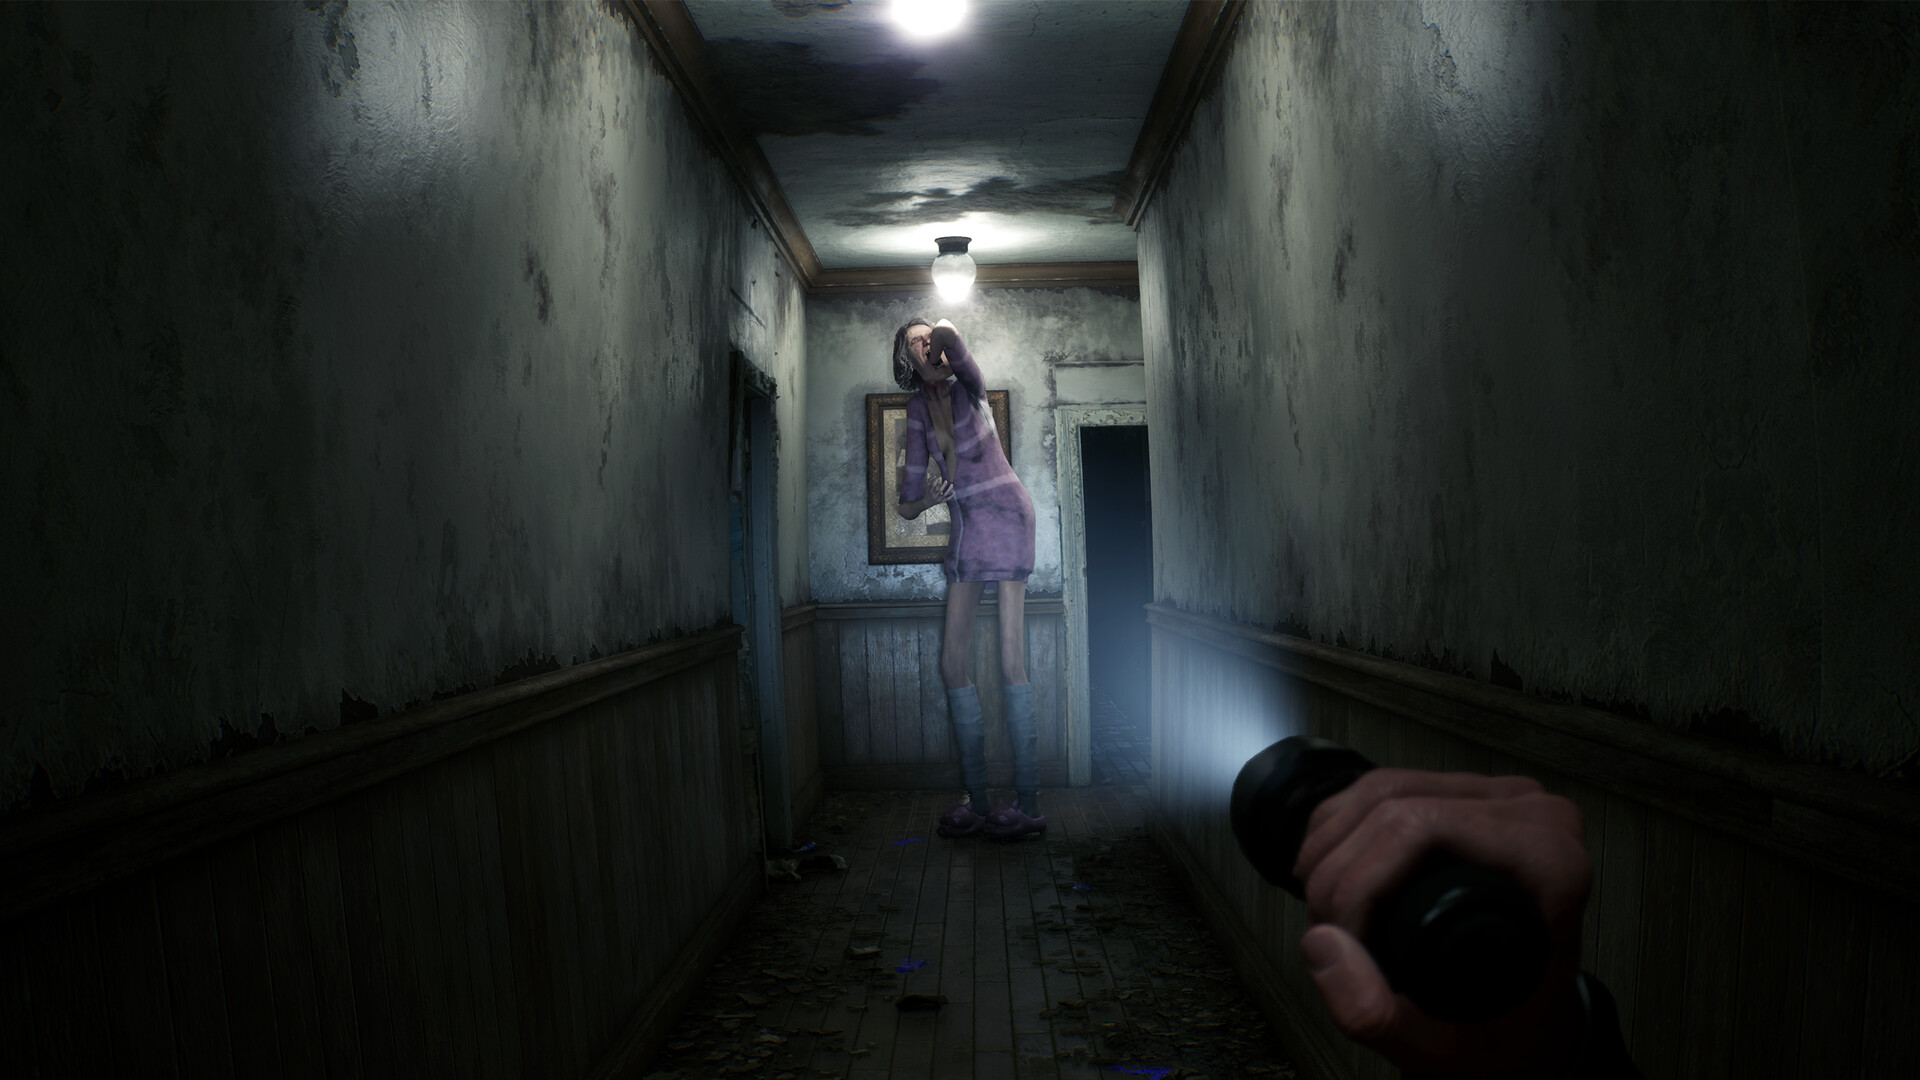
Search normally first, then use UV on surfaces connected to the crime: the floor around the body, door handles and frames, mirrors, walls near damaged objects, and personal belongings. Move slowly and recheck an area after new evidence changes its meaning.
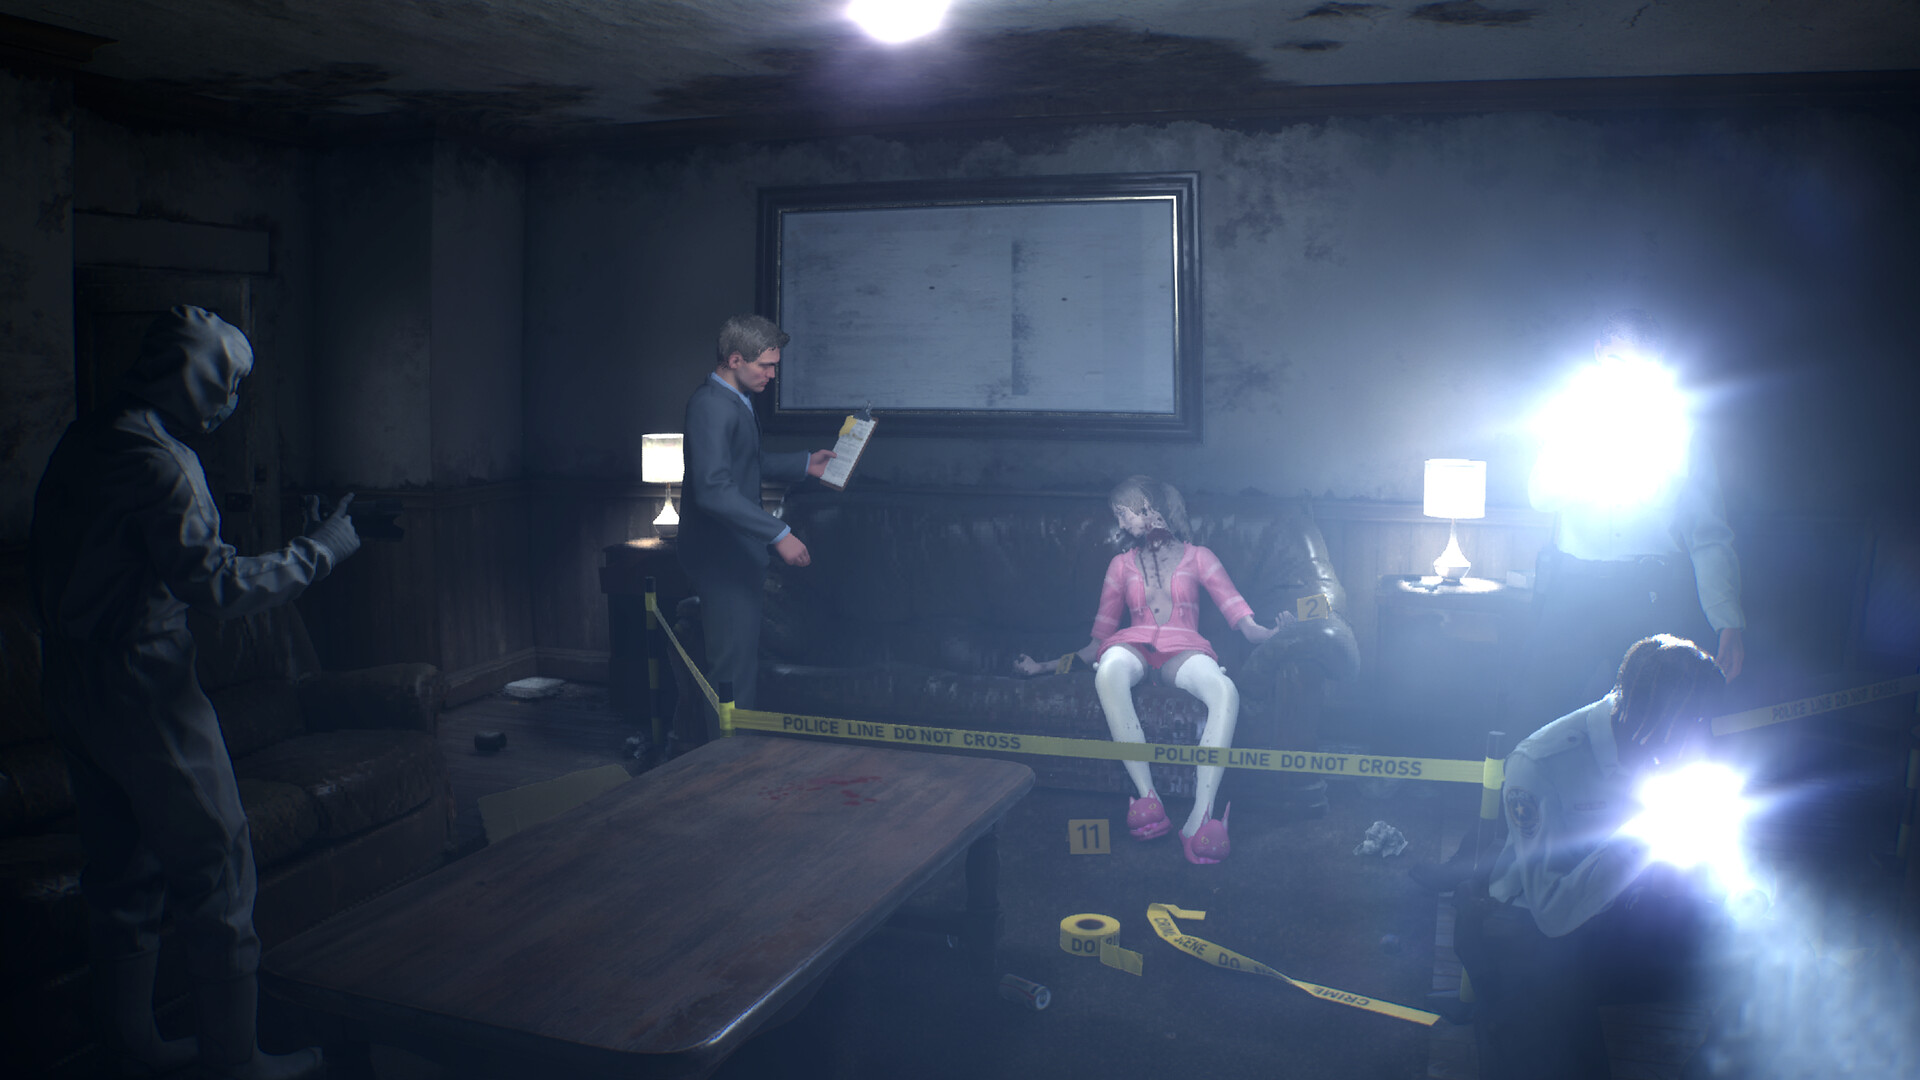
Run a normal-light pass first
Before raising UV, identify what the room is for and what looks disturbed. A normal pass gives you a route and prevents you from spending minutes scanning decorative walls. Mark three high-value targets, then check those targets with UV.
High-value surfaces to scan
- The floor and furniture immediately around the body.
- Door handles, frames, and the path between rooms.
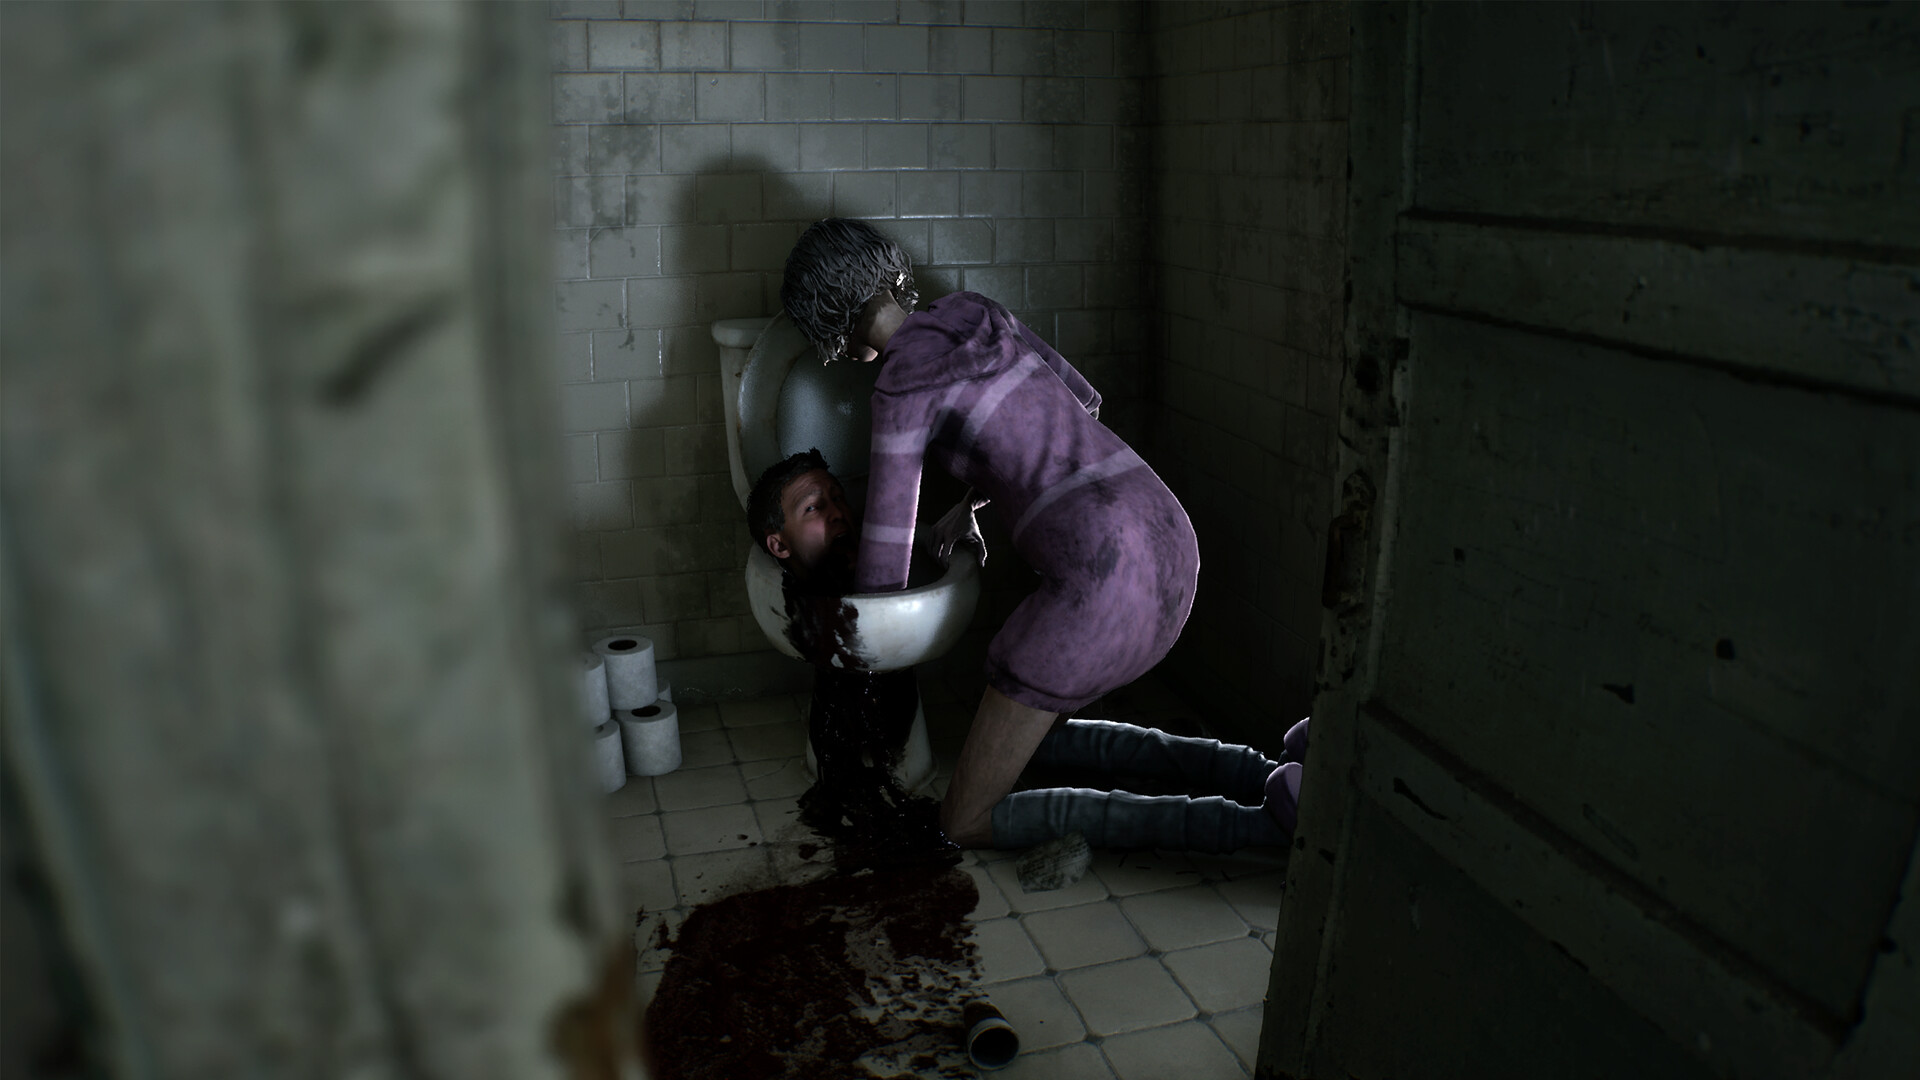
- Mirrors, sinks, and bathroom fixtures.
- Walls or floors beside visible blood, damage, or moved furniture.
- Personal belongings that do not fit the room or the story.
These are search priorities, not a promise that every surface contains a clue. The point is to use the crime scene’s layout to narrow your UV pass.
If UV shows nothing
Change one thing at a time. Step closer, lower the beam, and scan the edge of the object rather than its center. If the area still gives nothing, switch to the magnifying glass: UV looks for traces, while the lens can reveal paranormal content that is absent from normal view.
Also ask whether you are too early. A room can become relevant after a photo, board connection, or radio conversation gives you a reason to return.